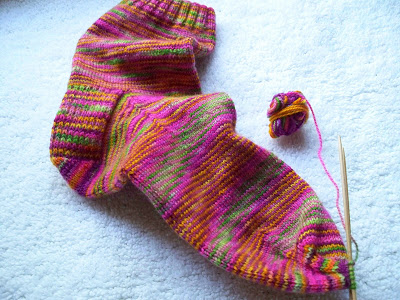
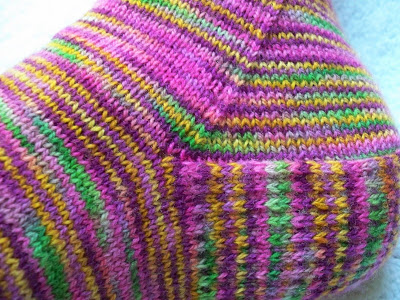
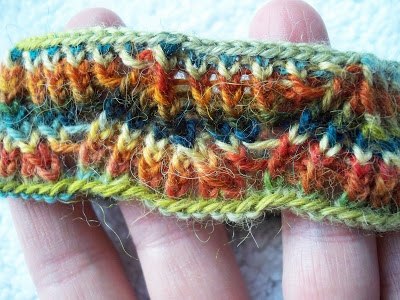
Because... everyone needs a crazy pair of socks....
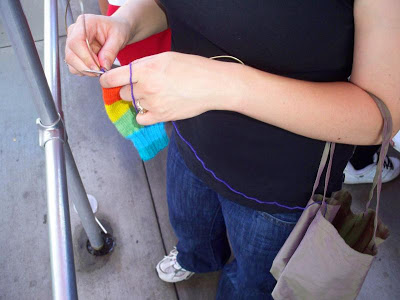
This is my "on-the-go" sock that I have been faithfully knitting on every time I have been in the car as a passenger, and during every movie I've gone to in the past 3 months or so.
I was finding great satisfaction knitting this sock, knowing that I was using this
"stolen knitting time."
Creating something during times when my hands were usually idle.
Ok, you see when I first put it on, it looks ok right???
Well check it out after 2 seconds of walking around in it....
Yea, I got this much extra room, goin on here.
How did this happen?? Well, believe it or not, I did swatch. I measured my stitches per inch, measured my foot circumference and used this little chart that someone from work gave me that told me how many stitches to cast on. Well this chart said 84. 84? Now I know that sounds like alot, and I thought so too. But, I am using this teeny tiny delicate merino wool sock yarn and size 0 needles, so I thought, "I'm sure this chart knows what it's talkin about."
Well, as you can see my sock is excessively large. It falls down my leg and I dont think it would stay on if I tried to actually use it.
I, of course, feel a little depressed that I spent all of that "stolen time" knitting a sock that is too big. It looked a tiny bit big on the needles, but you know how it goes with dpn's, Its hard to know its true size.
Im just not feeling motivated to knit the second sock, or rip it out.
So, I think I'm going to take a little time to cool off, and then I will start looking for a large calved somebody with the same foot size that likes bright colors.
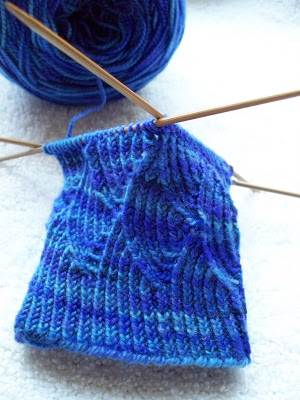
This is the first time I cast on. I loved the look and feel of this Misti Alpaca Hand Paint Sock yarn but this colorway that I chose, although lovely, was just not right for this pattern.
Too busy.
Lesson Learned: Look in your stash first!!!
It may get ugly.
Students will need to bring either: yarn and pattern for a project they would like to make, or just a spare skein of yarn with the ball band still attached. Please bring several needle sizes to the class because we may need to knit a couple of swatches in different needle sizes, until we get the right measurement.
Please call Tracy or I down at the shop if you would like to sign up, or have any questions. I will be offering this class again over the next couple of months, so be sure to check the website for current class dates and times.
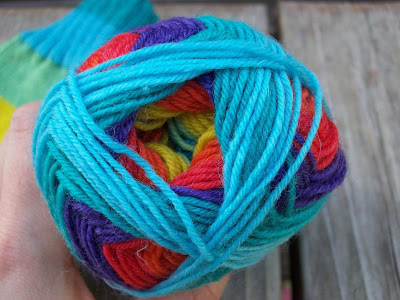
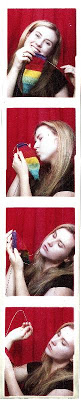
It was so fun to work on, so easy, so cheerful. And so our love affair began...
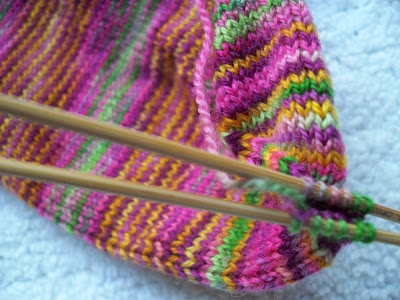
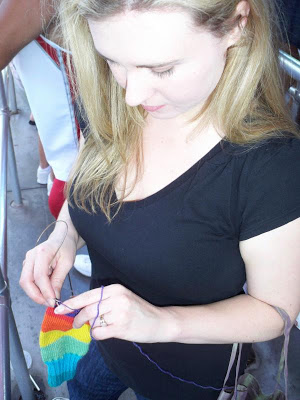
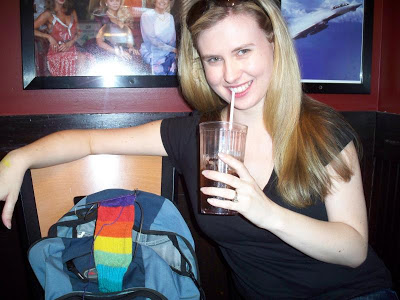
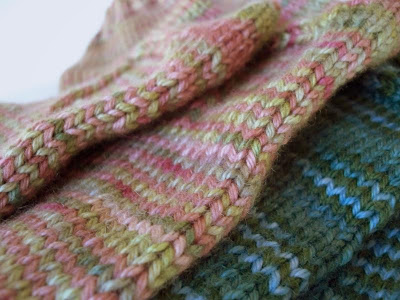
I felt like I had the perfect set up here. I worked this sock in a plain stockinette stitch on magic loop. I feel like you dont need a stitch pattern with such crazy colors! The magic loop was a good idea because dpns weren't falling out everywhere all the time, and it was easy and quick to put away when I got on the rides.
I had never knit in line before, but it was great. It passed the time and I got a good amount done.
Besides spending time together in line, my rainbow sock and I had a wonderful day together.
It was a fantastic day....
I wanted to take a picture of my husband wearing it but he is shy about website modeling. :)
The great thing about this pattern is that it is knit from the top down. (NO SEAMS!)
Seduce produces this slightly inconsistent fabric that reminds me of raw silk. I can't wait until I get this pattern submission knitting out of the way so that I can get back to this project!
It all started last night when I was lying in bed staring at the ceiling until 3:30 am. My mind was racing and I just could not sleep. I was thinking about (what else) knitting. You see, for those who don't know me personally, my obsessive personality sometimes gets the best of me.
To compound matters, for some unknown reason my two year old decides to wake up at 6:00 AM. I tried to doze off after that but someone was being really really loud and repeatedly yelling, "Mama Geg up!!" I rolled out of bed, feeling quite sorry for myself for only getting a pitiful 2.5 hours of sleep.
I decided to start my day by checking my ravelry account and email and of course it was TODAY of all days that I get my second rejection letter from Knitty. I had turned in the Rustic Cables pattern in February and it took them all this time to get back to me. Unfortunately I had done it again, I had gotten my hopes up and found myself feeling very disappointed.
After my shower as I was leaving the bathroom, to top it all off, I whacked my head against the door jam. Don't ask me why that happened. My preoccupied, exhausted, pudgy self apparently could no longer walk straight.
So, here I was sleep deprived, disappointed, fat, with a splitting headache.
What did I do about it?
I went shopping... now I feel alot better.
So, about Knitty, I am sad that my two patterns that I have submitted have been declined. But, it also motivates me more than ever to keep going. I will not give up!!! I am currently working on a pattern for their Fall issue. I have to say, I am quite pleased. It has been a big undertaking, but will be well worth the effort. As with the previous submissions, I will not be able to share it with you until after it has been either published or denied.
As soon as I get some pictures in order I will be sharing a new project I started recently that it working up quite nicely. So please stay tuned.
Rustic Cables
by Alana Dakos
When my Dad and Brother needed hats to wear on a camping trip, I came up with this fast, fun to knit hat pattern. The staggered cables twist in opposite direction keeping you on your “knitting toes” while the tweedy yarn provides the masculinity I was looking for in this hat. The finished result is a close fitting, warm hat with a brim that can be folded up or left down depending on the wearer’s preference.
SIZE:
One (Adult Large) 22-24 inch circumference, approx 9 inches in length.
MATERIALS:
(Brown Hat) : Queensland Collection Kathmandu Aran [85% Merino Wool, 10% Silk, 5% Cashmere; 104 yd/95m per 50g skein]; color #136; #2 skeins
(Gray Hat) : Queensland Collection Kathmandu Aran [85% Merino Wool, 10% Silk, 5% Cashmere; 104 yd/95m per 50g skein]; color #155; #2 skeins
#1 set US #8/5mm double-point needles
#1 16-inch US #8/5mm circular needle
Cable Needle
Stitch Markers
Tapestry Needle
GAUGE:
16 sts/24 rows = 4" in stockinette stitch
PATTERN NOTES:
4x4 rib (Worked over a multiple of 8 sts)
Round 1: [K4, p4] to end.
Every round is the same.
PATTERN:
Cast on 96 sts. Place marker to mark the beginning of a round and join being careful not to twist your stitches. Work 14 rounds in 4x4 rib.
Cable Pattern:
Round 1: (k4, p4, sl 2 sts to cable needle purlwise and hold in front of work. K2, k2 from cable needle, p4) repeat to marker.
Rounds 2-5: work in 4x4 rib
Round 6: (sl 2 sts to cable needle purlwise and hold in back of work. K2, k2 from cable needle, p4,k4, p4) repeat to marker.
Rounds 7-10: work in 4x4 rib
Rounds 11-36 Repeat Cable pattern 2 more times and then rounds 1-6 one more time. Hat should measure approx 7.5 inches from cast on edge.
Begin decreasing rounds. Switch to double pointed needles when your hat no longer fits comfortably around the circular needle.
Decreasing Rounds:
Round 37: (k4, p1, p2tog, p1) repeat around
Round 38: (k4, p2tog, p1) repeat around
Round 39: (k1, k2tog, k1, p2) repeat around
Round 40: (k2tog, k1, p2) repeat around
Round 41: (k2, p2tog) repeat around
Round 42: (k2tog, p1) repeat around
Round 43 (k2tog) repeat around
FINISHING:
Cut yarn leaving a long tail. Thread tail onto tapestry needle and pull through the remaining stitches sliding them off of the double pointed needles as you go. Cinch up tightly and weave in ends. Block as desired.
Thankyou to my Dad and Brother for modeling their new hats for me.
One of the things that has always bothered me about triangular shawls is the fact that they often can slip off of your shoulders. I hate clothing that has to constantly be adjusted.
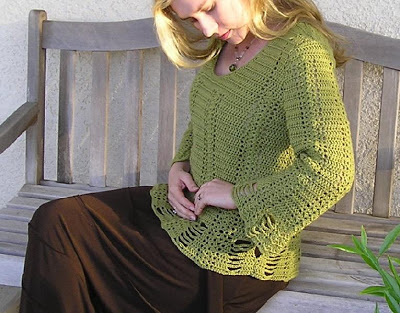
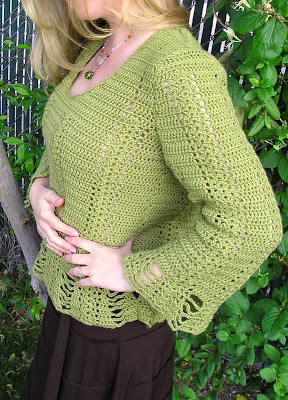
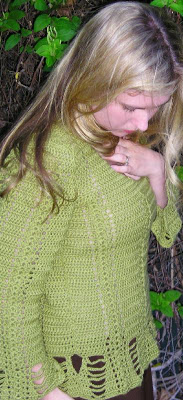
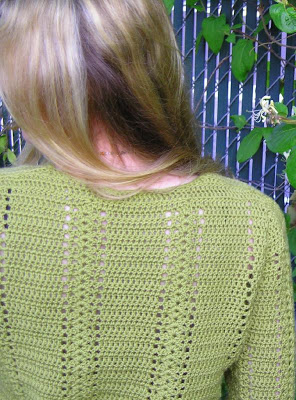
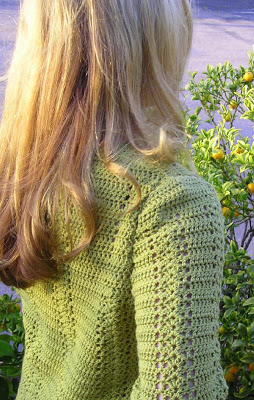
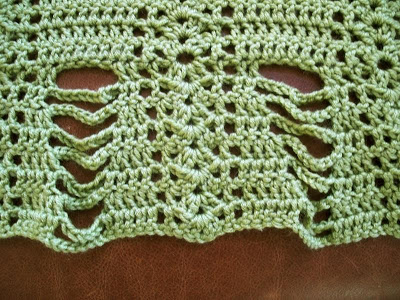
This sweater was crocheted from the book Crochet Me. The design is by Annette Petavy. What I like about this sweater design is the construction. The waist shaping and set in sleeves are very uncommon in the crochet designs of previous decades. It makes the sweater fit much more like a knitted garment. The other nice thing about this design as well as the others in the book, is that the pattern calls for a larger hook size and a small yarn weight. This produces a lighter fabric and better drape. Crochet is usually so stiff!
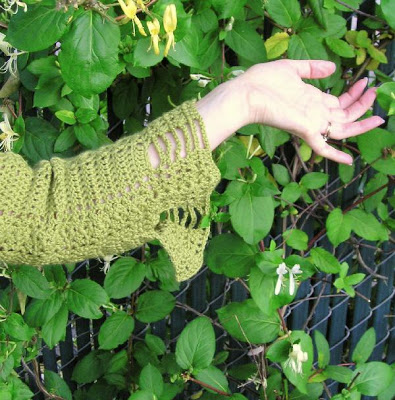
This sweater has been heavily modified. If you will notice there are no leaves in this Leaves Sweater. The pattern calls for leaf like thingys hanging down from the hem. I liked them in the pictures but when I started crocheting them onto my sweater I decided that it looked entirely too "Peter Pan-ish" especially with this color green.
I also added 2-3 inches in length to the body and the sleeves, and didn't sew on any seed beads as the pattern called for.
Unfortunately this pattern really gave me trouble. It was riddled with errors. Hopefully there are corrections posted. Usually I am happy to post corrections to the patterns that I knit or, in this case crochet, but this had so many that I gave up trying to keep track. Also in my opinion the pattern was poorly written. Some parts were explained in perfect detail while other areas were vague. There are no stitch counts provided for you to check your work and that bothers me. I hate to complain so much because I know how difficult it is to write a pattern, but I feel that I should give fair warning to those who are interested in this design.
I am very comfortable with crochet so I was able to work out these issues. If you are experienced with crochet this is also a doable project for you. The design I think is very cute.
I am excited about my new socks because I think they will be the perfect "wear around the house" socks, and will keep my feet really warm when the weather gets cooler. I imagine that they would wear well with clogs too.
This pattern is great for those who want to quickly knock out a pair of socks for a gift. A pair just takes a few evenings worth of knitting to complete. This is also a fabulous pattern for someone who has never knit socks before. It is simple and so easy to follow.
I did make a few pattern modifications. Instead of doing a 1x1 ribbing at the top, I opted for the more attractive and stretchy 2x2 rib. The math worked out just fine. Also the pattern calls for a 7 inch leg. I was so worried about conserving yarn that I knit mine 5 inches and then ended up with lots of yarn left over....
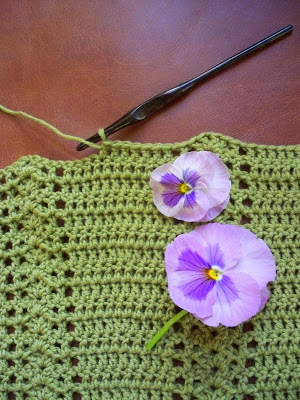
I love how the vine wraps around the bag handle.
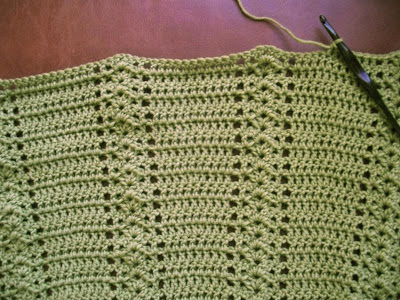
....I'm crocheting....
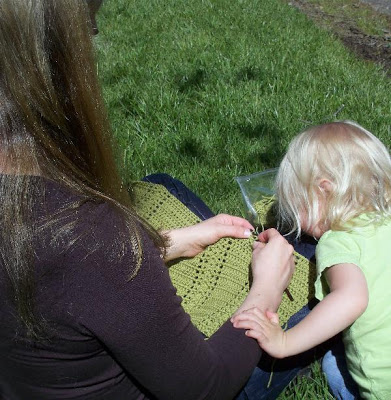
Ava can't believe it either so she leans in for a closer look.
Yes, I finally drug out my half finished Leaves Sweater that has not been touched since November of last year. If the thought of a crocheted sweater gives you scratchy acrylic nightmares, you are not alone, and don't worry this isn't that type of sweater. I am knitting it in Debbie Bliss Baby Cashmerino, which by the way is so soft!
It has been fun doing a bit of crochet again, but truthfully I am feeling nervous (queasy) about the end product. (I, of course, did carefully explain to the Leaves Sweater that I have no problem disposing of sweaters that make me look fat, quoting the Klaralund sweater as an example.) It is just too soon to tell whether this project will be a cute sweater or make me look like a dated, crochet-clad super freak. We will just have to wait and see....
The first sock is knit using double pointed needles. This is a great way to start out if you have never knit socks before. Since this pattern calls for DPN's, I will just help you through the pattern, exactly as shown. This will give you a great opportunity to learn how socks are constructed.
Double Pointed Needles Sock Class: $25 Saturday, May 3rd, 11-1
This third sock is knit using one 32" circular needle or "The Magic Loop" method. This is my new favorite way to knit socks! Once you learn how it is done, you will find it very refreshing to only have one needle to worry about! I also found that my stitches were more even using this technique opposed to the other socks. I recommend this class for those who have already tried one of the other sock knitting techniques, and feel comfortable with sock construction. In the class you will learn how to convert sock patterns from double pointed, or 2 circulars, to the magic loop.
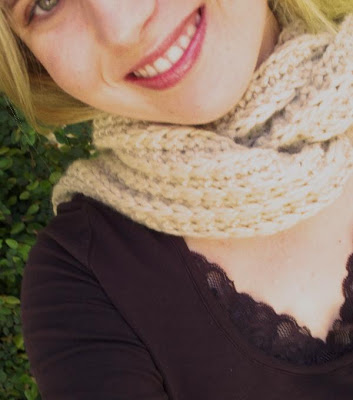
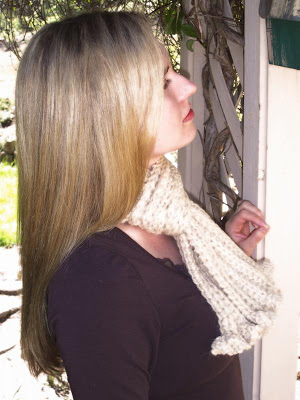
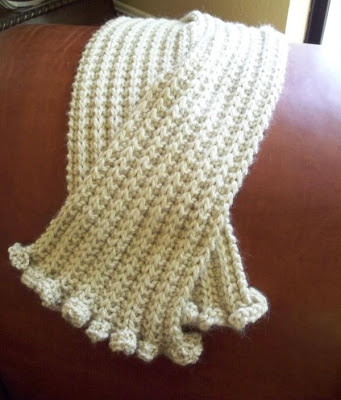
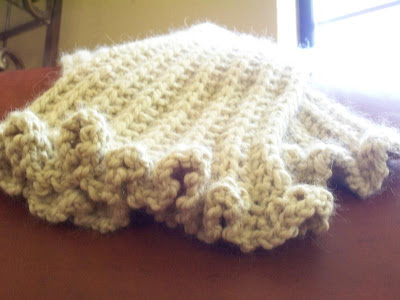
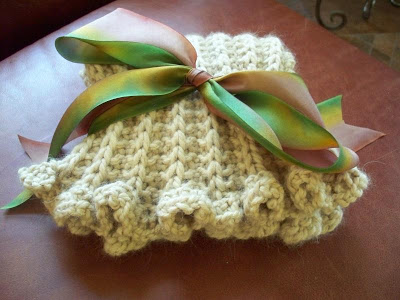
It's a really cute pattern. It is interesting because the "ribs" are just made by slipping stitches. There is not one purl stitch in this entire scarf!
I love how the ruffle adds interest and a touch of femininity.
I did make some modifications to this pattern... I wanted a more substantial scarf so I doubled the width. I cast on 120 instead of 60. When I was done with the ruffle, I increased one stitch in the first pattern row so that the rib pattern would work up correctly. On the first row of the ending ruffle decrease one stitch to make the two ruffles match.
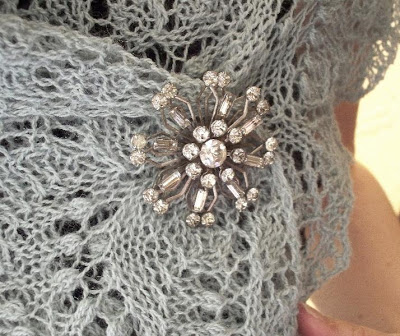
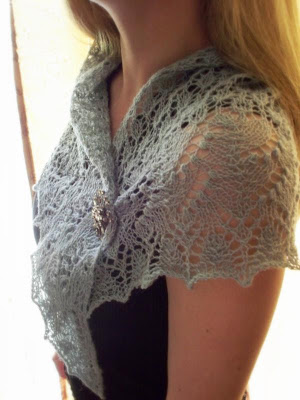
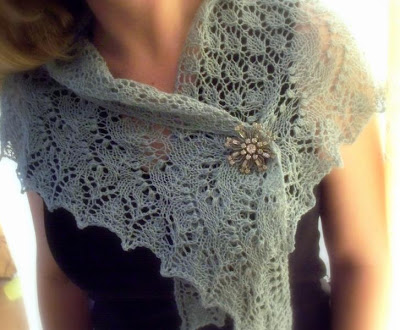
Yes, this is a last year's knit. (You didn't think I just whipped it up real quick did you?) The pattern is from the Interweave Knits Fall 2006 issue. This was my first "real" lace project. What I mean by that is that there is quite a difference between knitting a lace pattern on a scarf using a worsted weight yarn (fake lace knitting) and knitting with a lace weight yarn on small needles (real lace). Anyone who has done both types will most likely agree.
Knitting real lace is terrifying. The tiny thread-like yarn, the endless yarn overs and ssk's. And don't forget the teeny tiny chart with the teeny tiny squares filled with what looks like hieroglyphics. It was a bit intimidating. But nothing motivates me more than a challenge. I wasn't going to give up.
So I started knitting from that ridiculous chart, marking my place with 2 sticky notes, counting every stitch, and highlighting the rows when I completed them. I was concentrating so hard, and looking back and forth between the project and chart so many times, that my head was spinning and my eyesight blurred. I stopped after a few repeats wondering how people enjoy knitting lace.
Over the next week I trudged on, obsessed with this lace shawl. After a few days of getting used to the charts my eyes stopped bleeding, and it got more and more enjoyable. I was getting the hang of it. I got into a rhythm, the rows were flying by. I grew to love my project. About halfway into it I was feeling quite smug. I could knit "real lace". I started to wonder what all of the fuss about it was. It was EASY.
I was fantasizing about my daughter wearing my lace shawl on her wedding day, and then wrapping it up in tissue paper and handing it down to her daughter. Future generations were going to treasure it as a prized family heirloom and whisper among themselves, "Can you believe that this was made by our Great-Grandmother Alana? She was such an accomplished knitter."
Before long, I was on my final row. It had been a long time since I had made any errors, but I was still putting my lifelines in with scrap yarn in case I needed to rip back. Due to my extreme over confidence and knitting smugness I got a bit lazy with the lifelines at the end. By the time I had reached my final row, my last lifeline was about 20 rows down.
So pleased with myself about being almost finished, I got up off of the couch carefully setting down my shawl, to take a bragging break. After stretching and bragging to my husband a bit about being so awesome at knitting, I then skipped off to get a glass of water and quickly use the restroom.
I then plopped my "lace knittin' genious self" back down on the couch ready to finally finish my family heirloom lace masterpiece.
I'm sure you can see where this story is headed, to nowhere good. No matter how good of a knitter you think that you are, a lace project can always put you back in your place.
When I had picked up my project to work the FINAL row, ten stitches immediately slid off of the end of the needle and unraveled about 10 rows down. There are no words to describe the terror. After taking a bit of time to have a pity party for myself, I weighed my options. Should I rip it back 20 rows? At that point in the pattern each row was 200 stitches or so across. To take it back out and reknit was going to be ALOT of work. I decided to try to weave up the stitches back into place keeping with the lace pattern. I could do that, right? I worked painstakingly for about an hour chanting the whole time to myself, "Oh no, oh no, OH NO." This is where the moral of the story comes in.
I couldn't do it. So I faked it. It doesn't look perfect but it looks just fine. Only the people that I point it out to can tell. What is it about us knitters that we feel that we need to point out the errors in our projects to everyone we meet?
Anyways, it was finally off of my needles. I then annoyed my husband by running around the house with it fluttering behind me and asking incessantly how much he liked it.
I then proudly blocked it. For everyone who has completed a lace shawl, you know that blocking is what brings out the true beauty. It spreads out the stitches and shows off the beautiful stitch patterns.
I love my shawl so much that I've been afraid to wear it. It has only come out of its pillowcase that it lives in only a few times. What is the point of knitting something if you don't use it?
It is even cuter in real life.